Upload a GIF to Instagram by converting it into a video or using a GIF library like GIPHY or Tenor. Instagram doesn’t support direct .gif uploads, so GIFs may appear static if posted raw.
In this guide, you’ll learn how to post GIFs correctly on Instagram to keep motion, boost engagement, and add personality to your content.

How to Upload a GIF to Instagram Directly?
Let’s clear this up right away: you can’t upload a .gif file directly to Instagram — not to the Feed, not to Stories, not even to Reels.
Why? Because Instagram doesn’t natively support the .gif file format. When you try to upload a GIF, Instagram treats it like a still image, meaning it just shows the first frame. No animation, no movement, just… a freeze.
This often surprises people. After all, Instagram supports short videos, Boomerangs, and even live filters — so why not GIFs?
The simple answer: Instagram prioritizes video content formats, and that includes MP4, MOV, and similar files. GIFs, while technically animated, don’t meet the platform’s video codec requirements. They’re smaller and simpler but not optimized for Instagram’s compression system or autoplay features.
Method 1: Use a GIF from GIPHY or Tenor (Built-In Options)
If you’re using Instagram Stories, the easiest way to add a GIF is by using Instagram’s built-in GIF stickers, powered by GIPHY. You don’t need to convert files or download anything — it’s all baked into the app.
This is hands-down the fastest and most user-friendly method for sharing animated content — especially for businesses and creators who want to stay on-trend or add playful, branded elements to their content.
How to Add a GIF to Instagram Stories Using GIPHY
Here’s a simple walkthrough to help you get started:
- Open Instagram and swipe right to create a new Story.
- Upload or capture a photo or video as your background.
- Tap the sticker icon at the top (the square smiley face).
- Select the “GIF” option (you’ll see the GIPHY logo).
- Search for a keyword — like “happy,” “coffee,” or “sale.”
- Tap a GIF to add it to your Story. You can resize, move, or rotate it just like a regular sticker.
- Post your Story as usual.
Limitations
While this is great for Stories, keep in mind:
- GIPHY stickers can’t be used in Feed posts or Reels (unless you download and repurpose them, which we’ll cover later).
- You’re limited to what’s available in GIPHY’s library — unless you create and upload your own branded GIFs to their platform.
Still, for everyday use, this is the easiest way to upload a GIF to Instagram — no file conversions, no downloads, just tap and go.
Method 2: Convert Your GIF to a Video (for Feed, Reels, or Stories)
Want to post a GIF directly to your Instagram Feed, Reels, or even Stories — and not just as a GIPHY sticker? You’ll need to convert it into a video file, specifically an MP4, which Instagram does accept.
This method gives you the most flexibility. Whether you’re posting a custom animation, a meme, or a promotional banner with movement, turning your GIF into a short video is the key to making it work.
How to Convert a GIF to Video
There are several free and user-friendly tools you can use:
Option 1: Ezgif.com
- Visit ezgif.com.
- Upload your GIF file.
- Use the “Convert to MP4” tool.
- Adjust settings (loop count, size, frame rate) if needed.
- Click Convert, then Download your MP4 file.
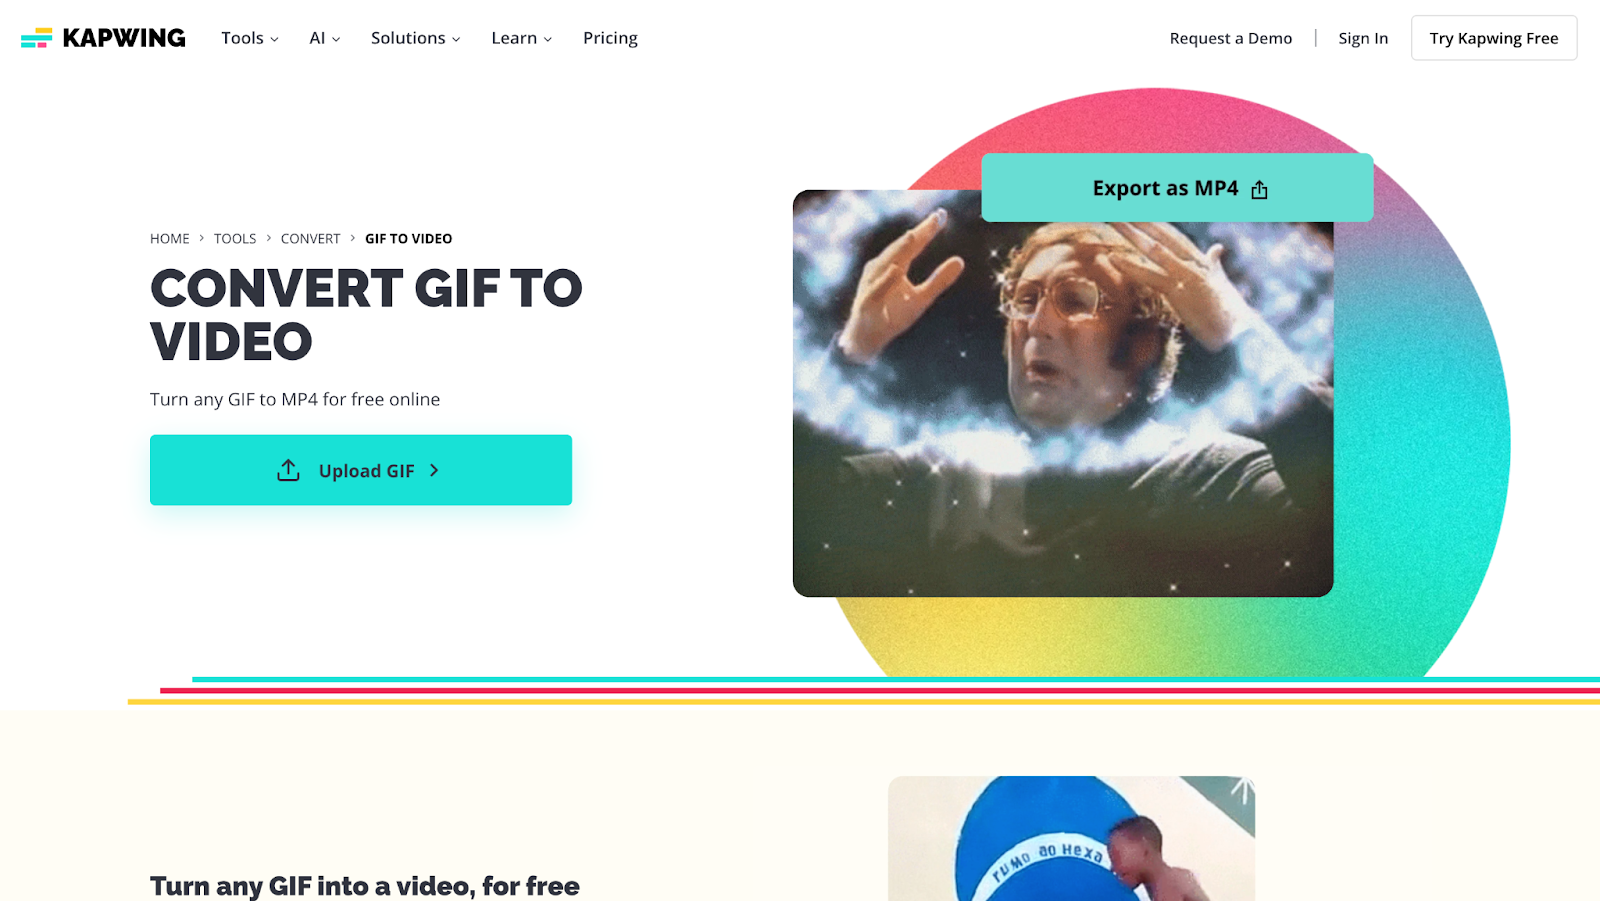
Option 2: Kapwing
- Go to kapwing.com.
- Upload your GIF.
- The tool will automatically convert it to a video format.
- Add audio, subtitles, or edit dimensions if needed.
- Export and download the MP4.
Option 3: Canva
- Upload your GIF into a blank canvas.
- Resize and add text or branding if needed.
- Click Share > Download > MP4 (video).
⚙️ Instagram video specs:
- Format: MP4
- Length: Up to 60 seconds for Feed, 90 seconds for Reels, and 15-60 seconds for Stories
- Aspect ratio: 1:1 (square), 4:5 (portrait), or 9:16 (vertical)
How to Post the Video to Instagram
- Open Instagram.
- Choose Feed, Story, or Reel depending on your plan.
- Select your converted MP4 from your camera roll.
- Add text, filters, or audio as needed.
- Post as you would with any video.
Which hashtag for Instagram make you viral fast? Read more
Loop It Right
Most GIFs are meant to loop. When converting to video, make sure to manually loop the animation a few times in the export settings. For instance, a 2-second GIF might loop 3-5 times to create a smoother 10-second video.
Here’s Part V: Method 3 – Use Instagram’s Native Tools to Create GIF-Style Content — crafted in your professional yet friendly and lightly conversational tone, with practical guidance and examples:
Method 3: Use Instagram’s Native Tools to Create GIF-Style Content
Sometimes, you don’t even need a traditional GIF to get that animated, eye-catching effect. Instagram offers built-in features that mimic the looping, playful feel of a GIF — no file conversions or third-party apps needed.
These native tools are great for quick, dynamic content, especially if you’re creating something on the fly or prefer staying within the Instagram app ecosystem.
Option 1: Boomerang (Now Integrated into Stories)
Instagram’s Boomerang feature — which records a short burst of motion and plays it forward and backward on a loop — is probably the platform’s most GIF-like native tool.
How to Use It:
- Open Instagram and swipe right to access Stories.
- On the left side, tap the “Boomerang” icon (∞).
- Press and hold the record button — it will automatically create a 1-second looping clip.
- You can trim, add effects, or slow it down using the Boomerang editor.
- Post it to your Story, or save it and upload as a Reel or Feed post.

Option 2: Looping Videos in Reels
If you’re looking for something more flexible than Boomerang, Reels let you:
- Record a short video (3–90 seconds),
- Add filters, music, or text,
- And most importantly, create content that loops smoothly, just like a GIF.
Reels autoplay and loop by default — so if you design your Reel to have a clean loop point, it can mimic the GIF experience perfectly.
Considerations:
- Boomerangs are only a few seconds long and can feel repetitive if overused.
- While effective for engagement, they don’t replace branded or custom GIFs in more polished campaigns.
Still, if your goal is to create fast, animated content with a GIF feel, these built-in features are an excellent, low-effort solution.
Tips for Making Your GIFs Pop on Instagram
While uploading GIFs to Instagram is relatively easy, standing out in the feed or Stories requires more than just throwing any animated image up. Here are some essential design tips and best practices to ensure your GIFs catch attention and get engagement.
- Keep It Short and Loopable
Aim for a GIF length of 5 seconds or less. Quick, loopable content encourages rewatching, boosting engagement. - Clear Background, High Contrast, Bold Elements
Use a simple background and ensure any text or branding is bold and high contrast to stand out even on small mobile screens. - Ideal Dimensions and Aspect Ratios
Feed: 1080×1080 pixels (square).
Stories/Reels: 1080×1920 pixels (vertical).
Correct dimensions ensure your GIF looks great across all platforms.
- Use Captions or Overlays for Silent Viewers
Many users view Instagram without sound. Adding captions or text helps communicate your message without relying on audio. - Add a Strong Call-to-Action (CTA)
Incorporate a clear CTA like “Shop Now” or “Tag a Friend” to prompt viewers to take action after watching your GIF.

Conclusion
Uploading a GIF to Instagram is more than just a fun touch — it’s a smart way to enhance how you communicate with your audience. Whether you’re sharing a reaction in Stories, adding personality to a post, or using branded animations for wider exposure, GIFs offer a versatile and engaging format that fits right into how people interact on the platform.
By converting your GIFs into short videos, leveraging tools like GIPHY or Canva, and optimizing for Instagram’s specific formats, you can make sure your animations not only look great but actually help drive results. And with a bit of extra effort — like uploading to GIPHY or fine-tuning the design — you’re setting your content up to stand out in a crowded feed. Now that you know how to upload a GIF to Instagram effectively, you’re ready to add movement, energy, and strategy to your content in a way that truly connects.